


09-02-2020, 06:25 AM
Three days of uploading later...
Sonic 1 Maps

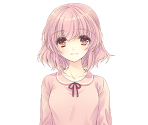
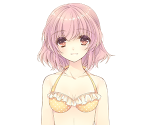
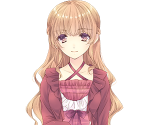
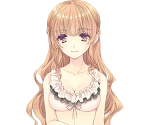
Nurse Love Addiction's Asuka
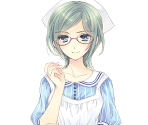
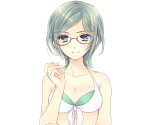
Nurse Love Addiction's Nao


Nurse Love Addiction's Itsuki


Nurse Love Addiction's Sakuya
Nurse Love Addiction's Kaede


Nurse Love Addiction's Misc.

Sonic 1 Maps
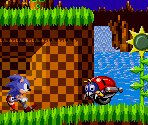
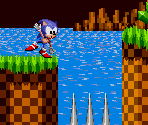
Green Hill Zone Act 1
Green Hill Zone Act 2
Green Hill Zone Act 3
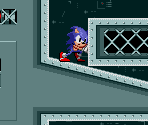
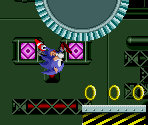
Scrap Brain Zone Act 1
Scrap Brain Zone Act 2 & Final Zone
Nurse Love Addiction's Asuka
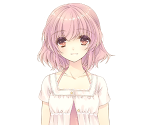
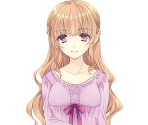
Casual 1
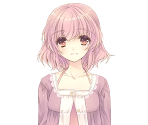
Casual 1 with Cardigan
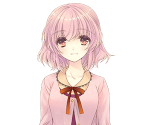
Casual 2
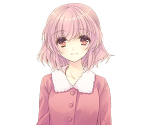
Casual 2 with Coat
Magical Nurse
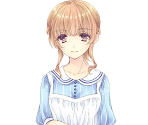
Nurse Uniform sans Cap
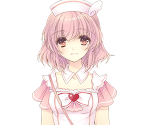
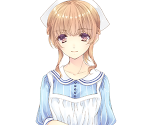
Nurse Uniform, Graduate Cap
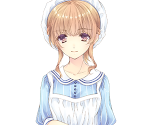
Nurse Uniform, Training Cap
Pyjamas
Swimwear
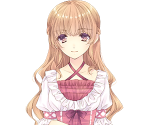
Nurse Love Addiction's Nao
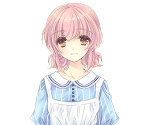
Casual 1
Casual 1 with Jacket
Casual 2
Casual 2 with Coat
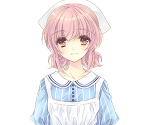
Nurse Uniform sans Cap
Nurse Uniform, Graduate Cap
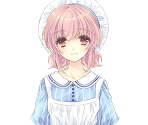
Nurse Uniform, Training Cap
Pyjamas
Swimwear
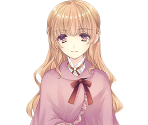
Nurse Love Addiction's Itsuki
Casual 1
Casual 1 with Jacket
Casual 2
Casual 2 with Coat
Nurse Uniform sans Cap
Nurse Uniform, Graduate Cap
Nurse Uniform, Training Cap
Relaxing Wear
Swimwear
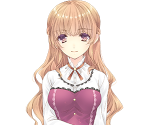
Nurse Love Addiction's Sakuya
Casual 1
Casual 1 with Jacket
Casual 2
Casual 2 with Shawl
Nurse Uniform sans Cap
Nurse Uniform, Graduate Cap
Nurse Uniform, Training Cap
Nightie
Swimwear
Nurse Love Addiction's Kaede
Nurse Uniform
Casual 1
Casual 1 with Cardigan
Casual 2
Casual 2 with Coat
Tracksuit
Nurse Love Addiction's Misc.
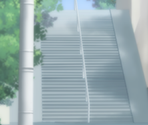
Backgrounds
Intermission Screens
Disclaimer
![[Image: WatSig.png]](https://i.ibb.co/ZNzH7fK/WatSig.png)


")
![[Image: morning1.gif]](http://en.kolobok.us/smiles/big_standart/morning1.gif)